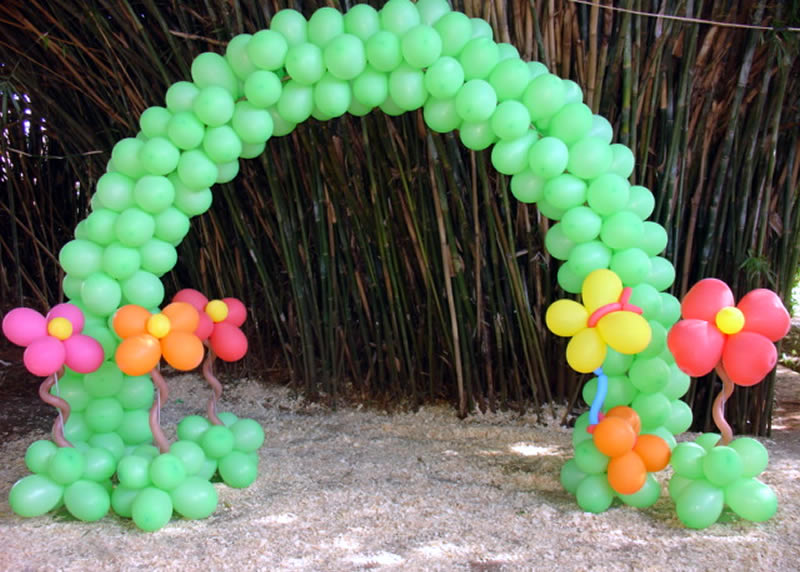
Balloon Arches
Making four-balloon clusters
- Blow up two balloons and tie the necks of them together, sealing the balloons and attaching them together at the same time.
- Do this again to make a second pair of balloons, and then simply cross the two pairs in the middle and twist them together to make a cluster of four.
Making Spiral Patterns
- To create a spiral pattern, make each cluster in the same color order and nest them in the same direction.
- Two color: use two of each color balloon in each cluster.
- Three color: use one each of two colors, and two of the third (remember when buying your balloons that you will need twice as many of the third color.)
- Four color: use one of each color in each cluster.
- Attaching the Balloon Clusters:
- Set up the frame for your balloon arch.
For Air Filled Balloon Arches
- Air-filled balloon arches require a sturdy frame. A strong, flexible material such as conduit, PVC pipe, and aluminum or plastic rod will work well. For additional support, you’ll need to wire the balloon arch to the wall or ceiling, and/or find a sturdy base to anchor the frame at the bottom.
- For air-filled balloon arches, set up the frame in its permanent location, if possible. If not, lay the frame flat so that balloons can be easily attached.
Note: If using an aluminum rod frame, the balloons can be attached before shaping the rod into an arch.
Making a Frame
- Make a frame for your balloon arch using a heavy base with conduit for the main support and aluminum rod for the balloon arch across the top (you can rent these). This works fine for smaller freestanding arches (about 8 feet high and 6 to 8 feet wide), but larger balloon arches will require support from above. Aluminum rod by itself can also be used as a frame but does require support at the base and from above. This works well for balloon arches over doorways and against walls, as the rod can be tied to tacks or nails in the wall or doorway (if you are renting a space for your event check with management before putting holes in their walls.)
- Attaching the clusters of balloons is a simple matter of placing the cluster on the rod and twisting two balloons around each other, locking the cluster on the rod. Slide the clusters up against each other, nesting them together.
TIP: If you are using the aluminum rod by itself, the balloons can be placed on the rod before shaping it into an arch and tying it down.
For Helium Balloon Arches
- If you choose to fill your balloons with helium, the gas will hold the balloons up without additional support; all you’ll need is heavy nylon thread (fishing line) or twine to tie the balloons together, and two ground supports to tether down each end of the line.
- If using helium, the first thing to do is to stretch out your mono-filament line (nylon fishing line) and secure each end to a heavy object (2 chairs) so that it is about waist high. Do not cut the string to the length you need just yet, it is easiest to adjust the length of the arch while making it and then tie it off and cut the string. Leave plenty of extra thread at each end, so it will be easier to move and tie down the arch in its permanent location later.
- For indoor decorations, 50-lb. mono-filament is recommended , and outdoor designs should be made with 100-lb. mono filament.
- Attach the clusters as you make them by making a space between two side-by-side balloons and setting the cluster in place and wrapping the string around one of the balloons. Attach each cluster in the same way, nesting the clusters close together before wrapping the string around.
NOTE: To make assembly easier, mount the first cluster against a flat surface, such as a large piece of cardboard attached to the line, so that the subsequent cluster will “nest” easily into it. When placing following clusters on the line, do not slide balloon clusters along the line as balloons may tear slightly, causing leakage or breakage. Pay special attention to the position of each cluster mounted onto line, as this is how patterns are created.
Balloon


